Thursday 29 April 2010

Fox Model Development

Render of finished fox.


Used a bitmap to texture the eyes on. Then added the UVW map to create the body textures.


Applied an unwrap UVW modifier for the texturing of the fox.
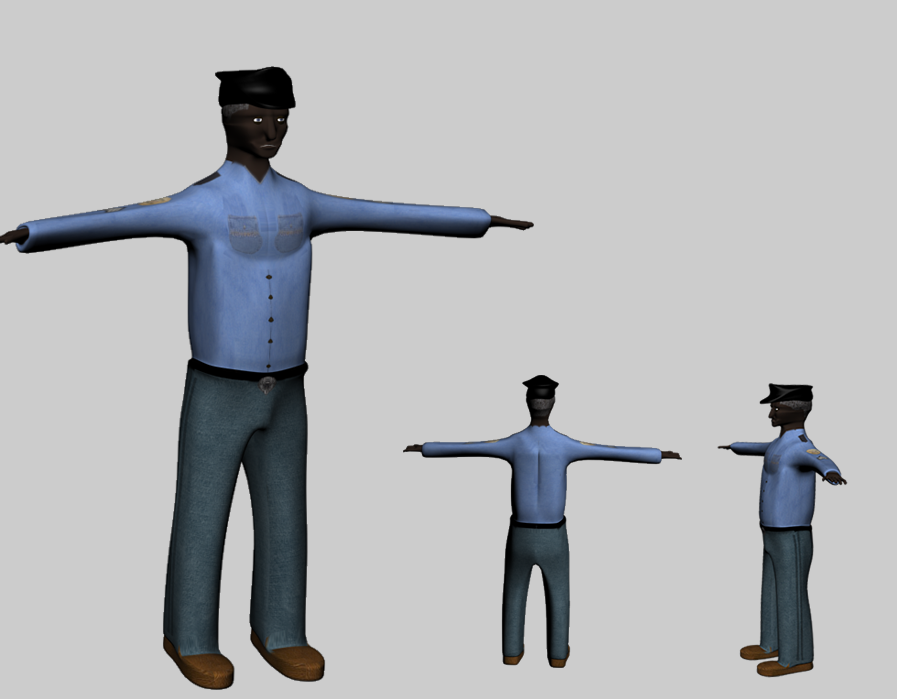


Finished model.


Slightly modified the body proportions in the legs and mouth.


Added detail to the head to make it look more like a fox.


Added in a turbo smooth modifier to smooth over the model.


Worked on the shape of the legs and tail.


Added on a tail.


Extruded polygons once again to create the legs.


Extruded and sliced the polygons to create the rough body shape.


Added in a couple of spheres for eyes, then changed the shape of the ears and mouth.


Carried on manipulating the vertices into a more fox like shape while using the quick slice tool to add in more vertices.


Started by creating a box and converting it to an editable poly. Manipulated a few vertices into a very basic shape of the head, then added symmetry modifier to mirror the other side of the fox.

Monday 26 April 2010

Theatre Development

Renders:


Lighting was then added. First a omni light to give some ambient lighting to the outside of the theatre. Next a couple of target spot lights were used to light up the front of the theatre. The transparent glass texture made the light flow throughout the whole building an gave it a nice lighting effect, meaning no more lights were need inside the theatre.


Finally a sign was added to give a more theatre like look to the front of the building.


Next the buildings were created by repeating a picture on a plane.


The outside of the theatre was then started. A path a road were created.


Finally ticket boxes were created and added to finish the room.


Added in a staircase either side as well as the red carpet, to keep a consistent theme throughout the whole theatre.


Next the foyer was started. Another box was created to form the room. The normal modifier was used once again so the polygons were reversed.


The stage and the seating was then brought together to form the inner theatre. An omni light was added to give light towards the stage and contrast the rows of seating.


In order to put a picture on the ceiling of the stage roof a UVW unwrap modifier needed to be applied.


Worked on the materials of the stage part of the theatre.


A safety wall and railing was added to the upper tier. To create the metal effect I used a high specular level on the material. Next a carpet texture was given to the steps as well as a gripper texture added. Finally a ceiling was given to the lower tier so the upper tier steps were not visible.


A door frame and skirting board was then added and copied to the upper tier seating.


A box was then added around the whole inner theatre, then using the normal modifier to reverse the polygons to face into the theatre, the floor, ceiling and walls were textured. An omni light was briefly added to test how the seating would look.


The second tier of seats was then copied exactly from the first tier and moved up.


Next the seating in the theatre was created by using instance copies of the original chair to first make half a row, then a section, and finally using the symmetry modifier the lower seating was created. Steps were added to fill the gap between the chairs.


After this a door was designed and given a glass texture in parts. The glass texture was made by adding reflection maps and reducing the opacity. The door was then mirrored to create the double doors in the theatre.


A red carpet was added between the balcony boxes using a plane shape. The roof over the stage was then created using a box then converting it to an editable poly. With soft selection on the shape was moulded by manipulating a few vertices and then tidied up with soft selection off. Finally another symmetry modifier was applied to the roof to mirror the half.


The roof of the balcony boxes was added, then a symmetry modifier was then applied to mirror the balcony box on the other side. Finally a stage was created using the same method as the balcony and a back drop curtain was added.


Planes were added to form walls between the columns. A cylinder then used and cut in half to create the balcony. A model of a chair was then created and given a turbo smooth modifier. It was given an instances copy from a master chair, so that if any adjustments needed to be made to the mass of chairs in this theatre it could be easily done. Finally curtains were created by using an editable poly then manipulating the vertices into a concertina shape before given a turbosmooth modifier.


Started by creating the columns that support the balcony boxes by creating a box and converting it to an editable poly. Then using the extrude tool and the scaling tool to create the tapering effect in places. An arch was then added that would eventually form a doorway.

Friday 23 April 2010

Security Guard Model Development

Finished model


Modelling after a while, before adding some of the finer details.


Reflattened the mapping as the original had many polygons overlapping. I decided not to spend a long time joining all the polygons together as it would still be possible to effectively create a good skin for the model.


Used the unrap UVW modifier to start creating the textures for the security guard model.

Worked on the hat proportions, so it fit the models head better.


Created a hat for the security guard to wear.


Work on the mouth and changed the size of the hands to be in proportion using the scale tool.


Added in facial features, cheeks and eyes. Turned up number of iterations on the turbo smooth modifier to 2 to smooth over the face more effectively.


Changed the head shape and added a nose to it.


Started remodelling the head.


I was also not happy with the hands and so they were deleted and remodelled.


Started modelling the head, but was not happy with amount of vertices and edges all over the place so I deleted it.


Developed the hands a bit more and added in a belt and definition to the trousers.


Started adding the hands to the model. Changed the mesh smooth modifier for a turbosmooth one as the smoothing was more effective.


I was not happy with the torso as the character was supposed to look fat but not pregnant, so I changed the upper torso.


changed the body proportions slightly.


Worked on the body shape a bit more.


Added on the arms and neck by extruding the polygons. Applied a mesh smooth modifier to smooth over the model.


Started working on the upper torso. Modified the body shape a bit.


Rounded off the legs and started working on the torso by manipulating the vertices into position.


Started creating the model by creating a box then converting it to an editable poly. Manipulated the vertices into a shoe shape then extruded some polygons to create the basic leg shape. I then added a symmetry modifier to mirror the leg and the rest of the model.